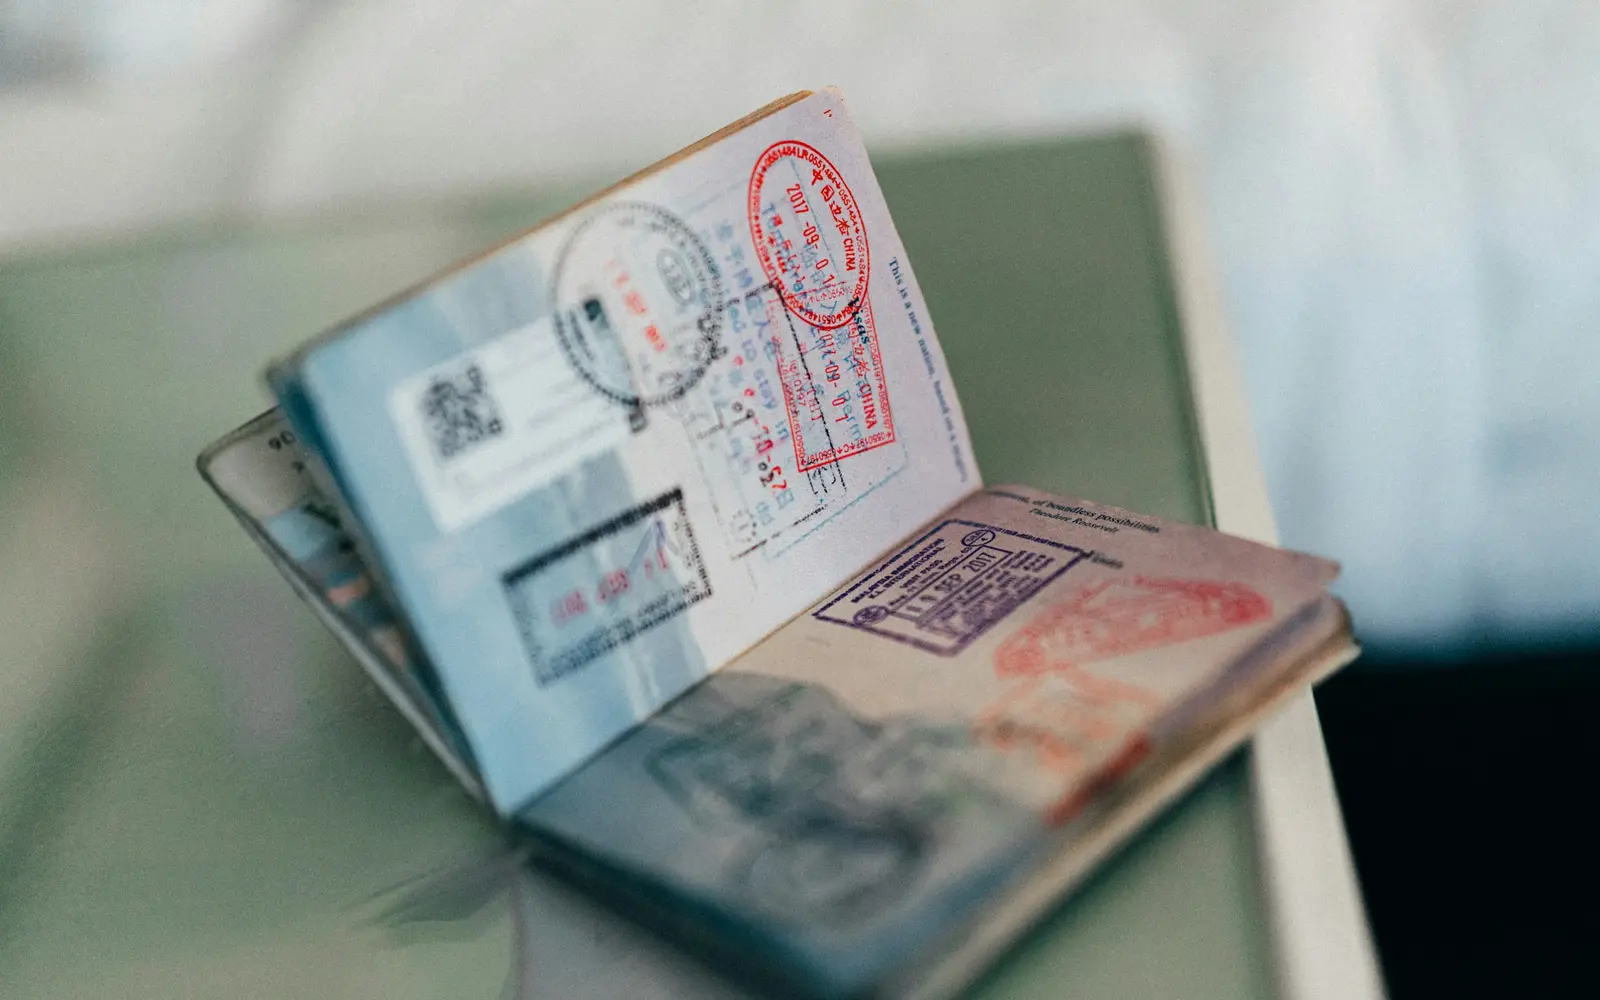
Most patients who come to India for treatment travel on one of two visas. The first is the e-Medical Visa, which you apply for online and receive by email. The second is the regular Medical Visa, which you apply for through the Indian embassy or high commission in your country. Family members who travel with you get a matching attendant visa. This guide walks through both, in the order you will actually do things.
One point before anything else. Visa rules in India change, and the official pages are sometimes updated at different times. We checked everything here against the government sources listed at the end of this article on the date shown. Before you pay any fee, read the current page for your country.
Step 1: Choose your hospital first
Every Indian medical visa depends on a letter from an Indian hospital. So the visa comes after the medical decision, never before it.
With MediCurage, you send your reports, our team gets a medical opinion, and partner hospitals send their quotes for your treatment. You compare them and choose. Once you have chosen, we ask that hospital's international patient desk for the invitation letter and check it against every passport before it reaches you.
For the e-Medical Visa, the official FAQ says the hospital letter must be on the hospital's letterhead and must show:
- your name, nationality and passport number
- the date, or tentative date, of your admission or treatment
The regular visa route can ask for more. The High Commission of India in Nairobi, for example, asks for the illness, the expected length of treatment and the estimated cost in the letter, plus a referral letter from your local doctor. Check your own embassy's list.
Step 2: Check which visa you can apply for
The e-Visa is open to passport holders of a long list of countries. When we checked, the list included Bangladesh, Kenya, Sri Lanka, Oman, the UAE, Kuwait, Qatar and Bahrain. Iraqi, Yemeni and Saudi passport holders were not on the e-Visa list when we checked, so they apply through the Indian embassy for a regular Medical Visa. The full list is on the Indian Visa Online eligibility page.
You cannot use the e-Visa if you hold a diplomatic or official passport, or if you have a serving or retired defence, police or security background. In those cases, apply for a regular visa.
Step 3: Get your passport and photo ready
For the e-Visa, your passport needs at least six months of validity on the day you apply and at least two blank pages for stamps. Each person needs their own passport, including children.
The site asks for:
- a recent front facing photo on a white or plain light background, in JPEG format, square in shape, between 10 KB and 1 MB
- a scan of your passport bio page (the page with your photo and details) as a PDF
- the hospital letter as a PDF
The PDF uploads have a size limit (300 KB when we checked), so scan at a modest resolution. Large phone photos of documents are often rejected.
Step 4: Apply for the e-Medical Visa online
You apply on indianvisaonline.gov.in, which is the only official site for the Indian e-Visa. You can apply as early as 120 days before you travel and no later than 4 days before your arrival date. Fees depend on your nationality, and the bank adds a transaction charge.
When the visa is approved, the electronic travel authorisation (ETA) arrives by email. Print it and carry it with your passport. At immigration in India, your fingerprints and photo are taken.
On how long the visa lasts, the official page currently describes the e-Medical Visa as valid for one year from your arrival, with multiple entries. The FAQ on the same site still mentions 60 days. Read the validity shown on your own approval carefully, and plan your dates around it. The site also states that e-Visas cannot be extended or converted to another visa type.
You must arrive at one of the airports or ports named on the e-Visa site. Hyderabad, Delhi, Mumbai, Chennai, Kolkata and Bengaluru are among the listed airports.
Step 5: Apply for attendant visas for family members
A patient on an e-Medical Visa can bring up to two attendants, each on an e-Medical Attendant Visa. Attendants apply separately, with their own passport and photo, and link their application to yours.
On the regular route, the Ministry of Home Affairs allows up to two attendants on a Medical Attendant (MED X) visa, which runs for the same period as the patient's visa. Bangladeshi nationals may have up to three. A minor child travelling with a parent who is the patient may be given a different visa category, so ask the embassy.
Step 6: The regular Medical Visa, if you need it
If the e-Visa does not fit your case (your country is not eligible, or the treatment may run long), apply for a regular Medical Visa. Ministry of Home Affairs guidance sets the first period of validity at up to one year or the length of treatment, whichever is shorter. Embassies may issue a six month visa with three entries. Inside India, the Foreigners Regional Registration Office (FRRO) can extend it on the strength of a medical certificate from the treating hospital.
Embassies usually also ask for proof of funds and proof of the relationship between the patient and each attendant.
Registration after you arrive
Official pages do not all describe the registration rules for foreigners in the same way at the moment. Ask your coordinator or the hospital's international desk whether your visa needs registration after arrival; the rule depends on the visa type and length. If registration is needed, it is done online on the e-FRRO portal, indianfrro.gov.in.
What we take off your plate
Your coordinator keeps a single checklist for the patient and each attendant: passport dates, photo sizes, the hospital letter, and the arrival airport that matches your visa. Each person submits their own application, and we help them prepare it. The decision belongs to the Government of India, not to us or the hospital. Once the visa is approved, we book flights to fit the admission date and arrange pickup at arrivals and a stay near the hospital. If anything on your visa looks wrong, tell us before you fly, not at the airport.
One last check before you pay the fee: the name and dates on the hospital letter should match what you type into the form. A mismatch between the two can hold up an application.